5 ways to use a concealer
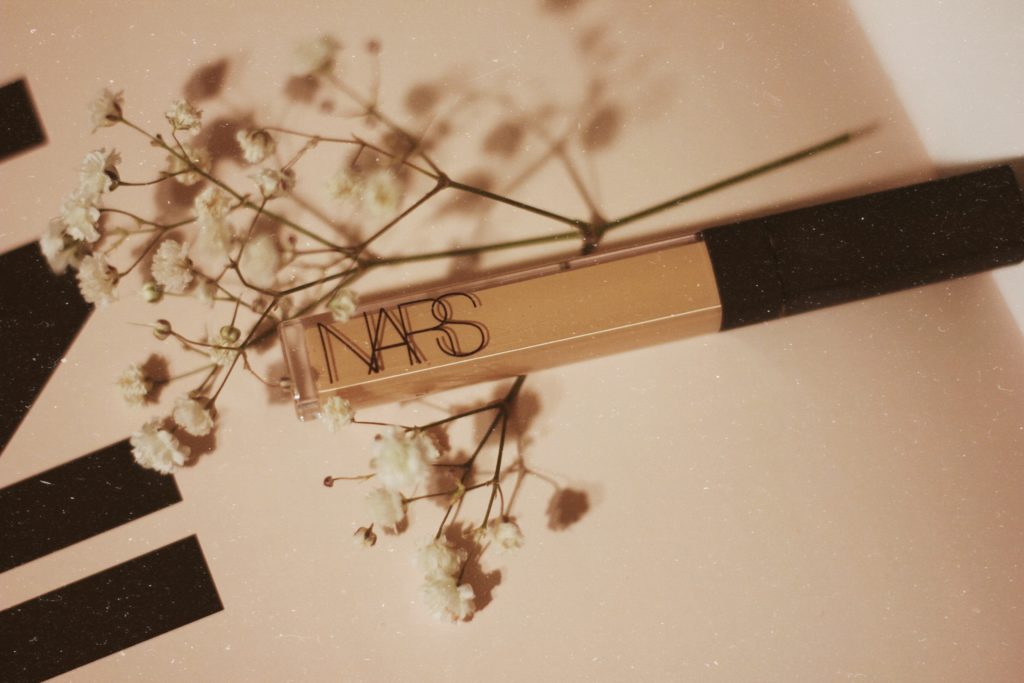
Did you know that concealer can do much more than just conceal marks and hide dark under-eyes circles? This makeup product is definitely a must have for every beauty enthusiasts and makeup lover like me. I certainly cannot leave the house without it; it is my ride or die thanks to all the wonders that it does. It conceals everything that needs to be hidden such as dark spots, zits, scars and under-eyes circles to give you as a result a gorgeous, flawless skin. However it can be also used for other purposes. Here are the 5 ways to use a concealer:
1.Conceal dark circles
One of the 5 ways to use a concealer is of course its main job: hiding dark circles and softens fine lines around the eyes. And for that, some people use a concealer with the same shade of their foundation. Others use a lighter shade than their foundation. I personally use both: I apply the one with the same shade of my foundation underneath the eye, starting from the inner corner and a third of the way along the orbital bone. Then, I add a touch of the lighter one to the inner corner of my eye only just to brighten my eye look.
2. Foundation
To maximize your precious getting ready minutes and the limited space in your beauty bags, use your concealer as a concealer and as a foundation too. Before you do so, make sure to choose a concealer’s shade that matches your skin tone. Then, start applying from your under eye area to all the areas where you normally lay over your foundation. Once you have an even amount of product all across your face, start blending it out. Now that your base is ready, you can go and apply all the other products like a setting powder, a blush or a bronzer and finish the look!
3. Shadow Base
If you have red eyelids, or if you want to increase the longevity and color pay off of your eye shadow; Try using your concealer as an eye shadow primer. How? Apply a thin layer of concealer on your upper eyelid; blend it with your ring finger, a small beauty blender or a brush. Let it set and dry a little bit then follow this step with your eye makeup. And if you mess up your eye shadow, don’t panic. You don’t have to remove everything and start all over again. Just take a dot of concealer on a narrow applicator brush and dab it over to fix that messiness.
4. Contouring
Who says you need to buy expensive cream contouring products to sculpt your face? Just using two different shades of concealer will give you that snatched sculpted face you’re looking for. Use a lighter shade than your skin tone to highlight and lift the bone structure, apply it on the forehead, over the nose and cupids bow, the center of the chin and underneath the apples of the cheeks to lift them up a little bit. And use a darker shade of concealer to contour and define some areas of your face, apply it along the hairline, underneath the cheekbones, along the lower jawline, underneath the lower lip and finishing with a fine line either side the bridge of the nose. Then blend it all with a beauty blender for a seamless result and a fresh healthy looking skin.
5. Cover ‘imperfections’
Firstly, you need to know that the concealer you use to cover your under eye dark circles is not the same you use to hide dark spots and blemishes. There are different kinds of concealers out there with so many different shades and colors; each color is used to cover a specific area. It is called color correcting. For example, if you have blue under-eye circles, you should use a peach-toned concealer. If you have black under-eye circles, use a purple one. There is also a yellow-toned concealer that is used to even out your skin tone. And if there’s any redness on your face, a touch of green concealer will help neutralize the area and cover red spots, pimples and any sort of pigmentation on your skin.
If you don’t want to use this color correcting technique, simply use a concealer that matches the shade of your foundation (to avoid obvious white circles in the area), and apply it on blemishes and dark spots.